
How to Photograph Stained Glass: Tips for Capturing Light and Detail
The beauty of handmade stained glass art is unique and radiant. It’s no wonder that both amateur and professional photographers try photographing stained glass windows, sun catchers, skylights, lamps, and other captivating items. If you’re about to shoot stained glass wall art that speaks to color and light, learn to play with light and detail. If you do, you’ll celebrate that vibrant beauty to the fullest through your lens.
Today, our creative souls will help you immortalize art that transcends borders, cultures, and time.
What’s Your Equipment?
You can take nice shots even of the works of the famous stained glass artists, using a standard camera or even your phone. If you need to know how to photograph stained glass at a more professional level, it’s better to have a pack of right accessories.
Start with a long lens or other zoom lens. We recommend using a standard prime lens (like a 50mm). It gets great results for fine details. For large windows, go for a wide-angle lens to capture the entire scene. Don’t forget about a tripod. In tandem with a remote release, it helps avoid shake.
Learn the Role of Light
The magic of stained glass decor lies in its visible interaction with sun rays. In contrast to traditional subjects, it requires some backlighting so the colors and textures are in all their glory.
- Let natural light provide its message for you. The best time to shoot this mosaic art is during the day. But alas, how to photograph glass art to match the mood or color vibe you’re aiming for? Here’s the thing: morning and late afternoon light is softer and warmer, so choose it to capture rich, vibrant colors. With its glowing orange core and golden rays, our sun suncatcher really comes to life when shot during golden hour (before sunset) with the most flattering light.
- Avoid direct sunlight. Whether you try to capture wall décor or stained glass garden art for sale, harsh sun rays can cause overly bright tones, so the important details will be washed out. Diffused light is the way to go.
- Experiment with angles. Move around until you find the angle where the light hits the piece just right so you don’t have those annoying reflections in your lens.

Don’t Be Afraid of Shadows
In our atelier, we encourage readers not to be afraid of experiments! Shadows let us do that like no other. They can really work in your favor. Look for cool angles where the light and shadows create strong contrast. It really makes the artwork pop and brings vibrancy to the lives of all who get to see it.

Let Color Be Your Friend
One of the reasons people choose our stained glass gifts for their loved ones is the beautiful play of color that changes with the light. Take, for example, our peony lamp. Its delicate pink and green petals come alive when the lamp is lit, turning into a creative meeting point of style, comfort, and warmth. So, where are we? Embrace colors! Sparkling water, blue sky, green grass – all are winners when it comes to colored backdrops for your images. Using bold colors like these instantly lifts the mood and really draws the viewer’s eyes.

Set Your Gadget
Beginners should better choose Auto Mode. Thus, your device deals with settings like shutter speed, aperture, and ISO. And you just click. And if you are ready to have a bit of fun, go for a portrait mode. The main object is sharp while the background is blurred, giving the photo a dreamy vibe. This look is perfect for artwork photos when you want the focus to be all on the art itself. Finally, the manual mode lets you play with the settings the way you like.

Compose with Care
Composition is key when you shoot delicate pieces crafted of mosaic glass.
- Frame the details. Stained glass pieces are full of beautiful patterns and details (that’s why we love them!). Zoom in on catchy colors, interesting shapes, and textures to capture the artistry of craftsmen. When we click the peony bud panel from our artists, we focus closely on the delicate petals and soft color gradients that really show the talents behind this sophisticated artwork.
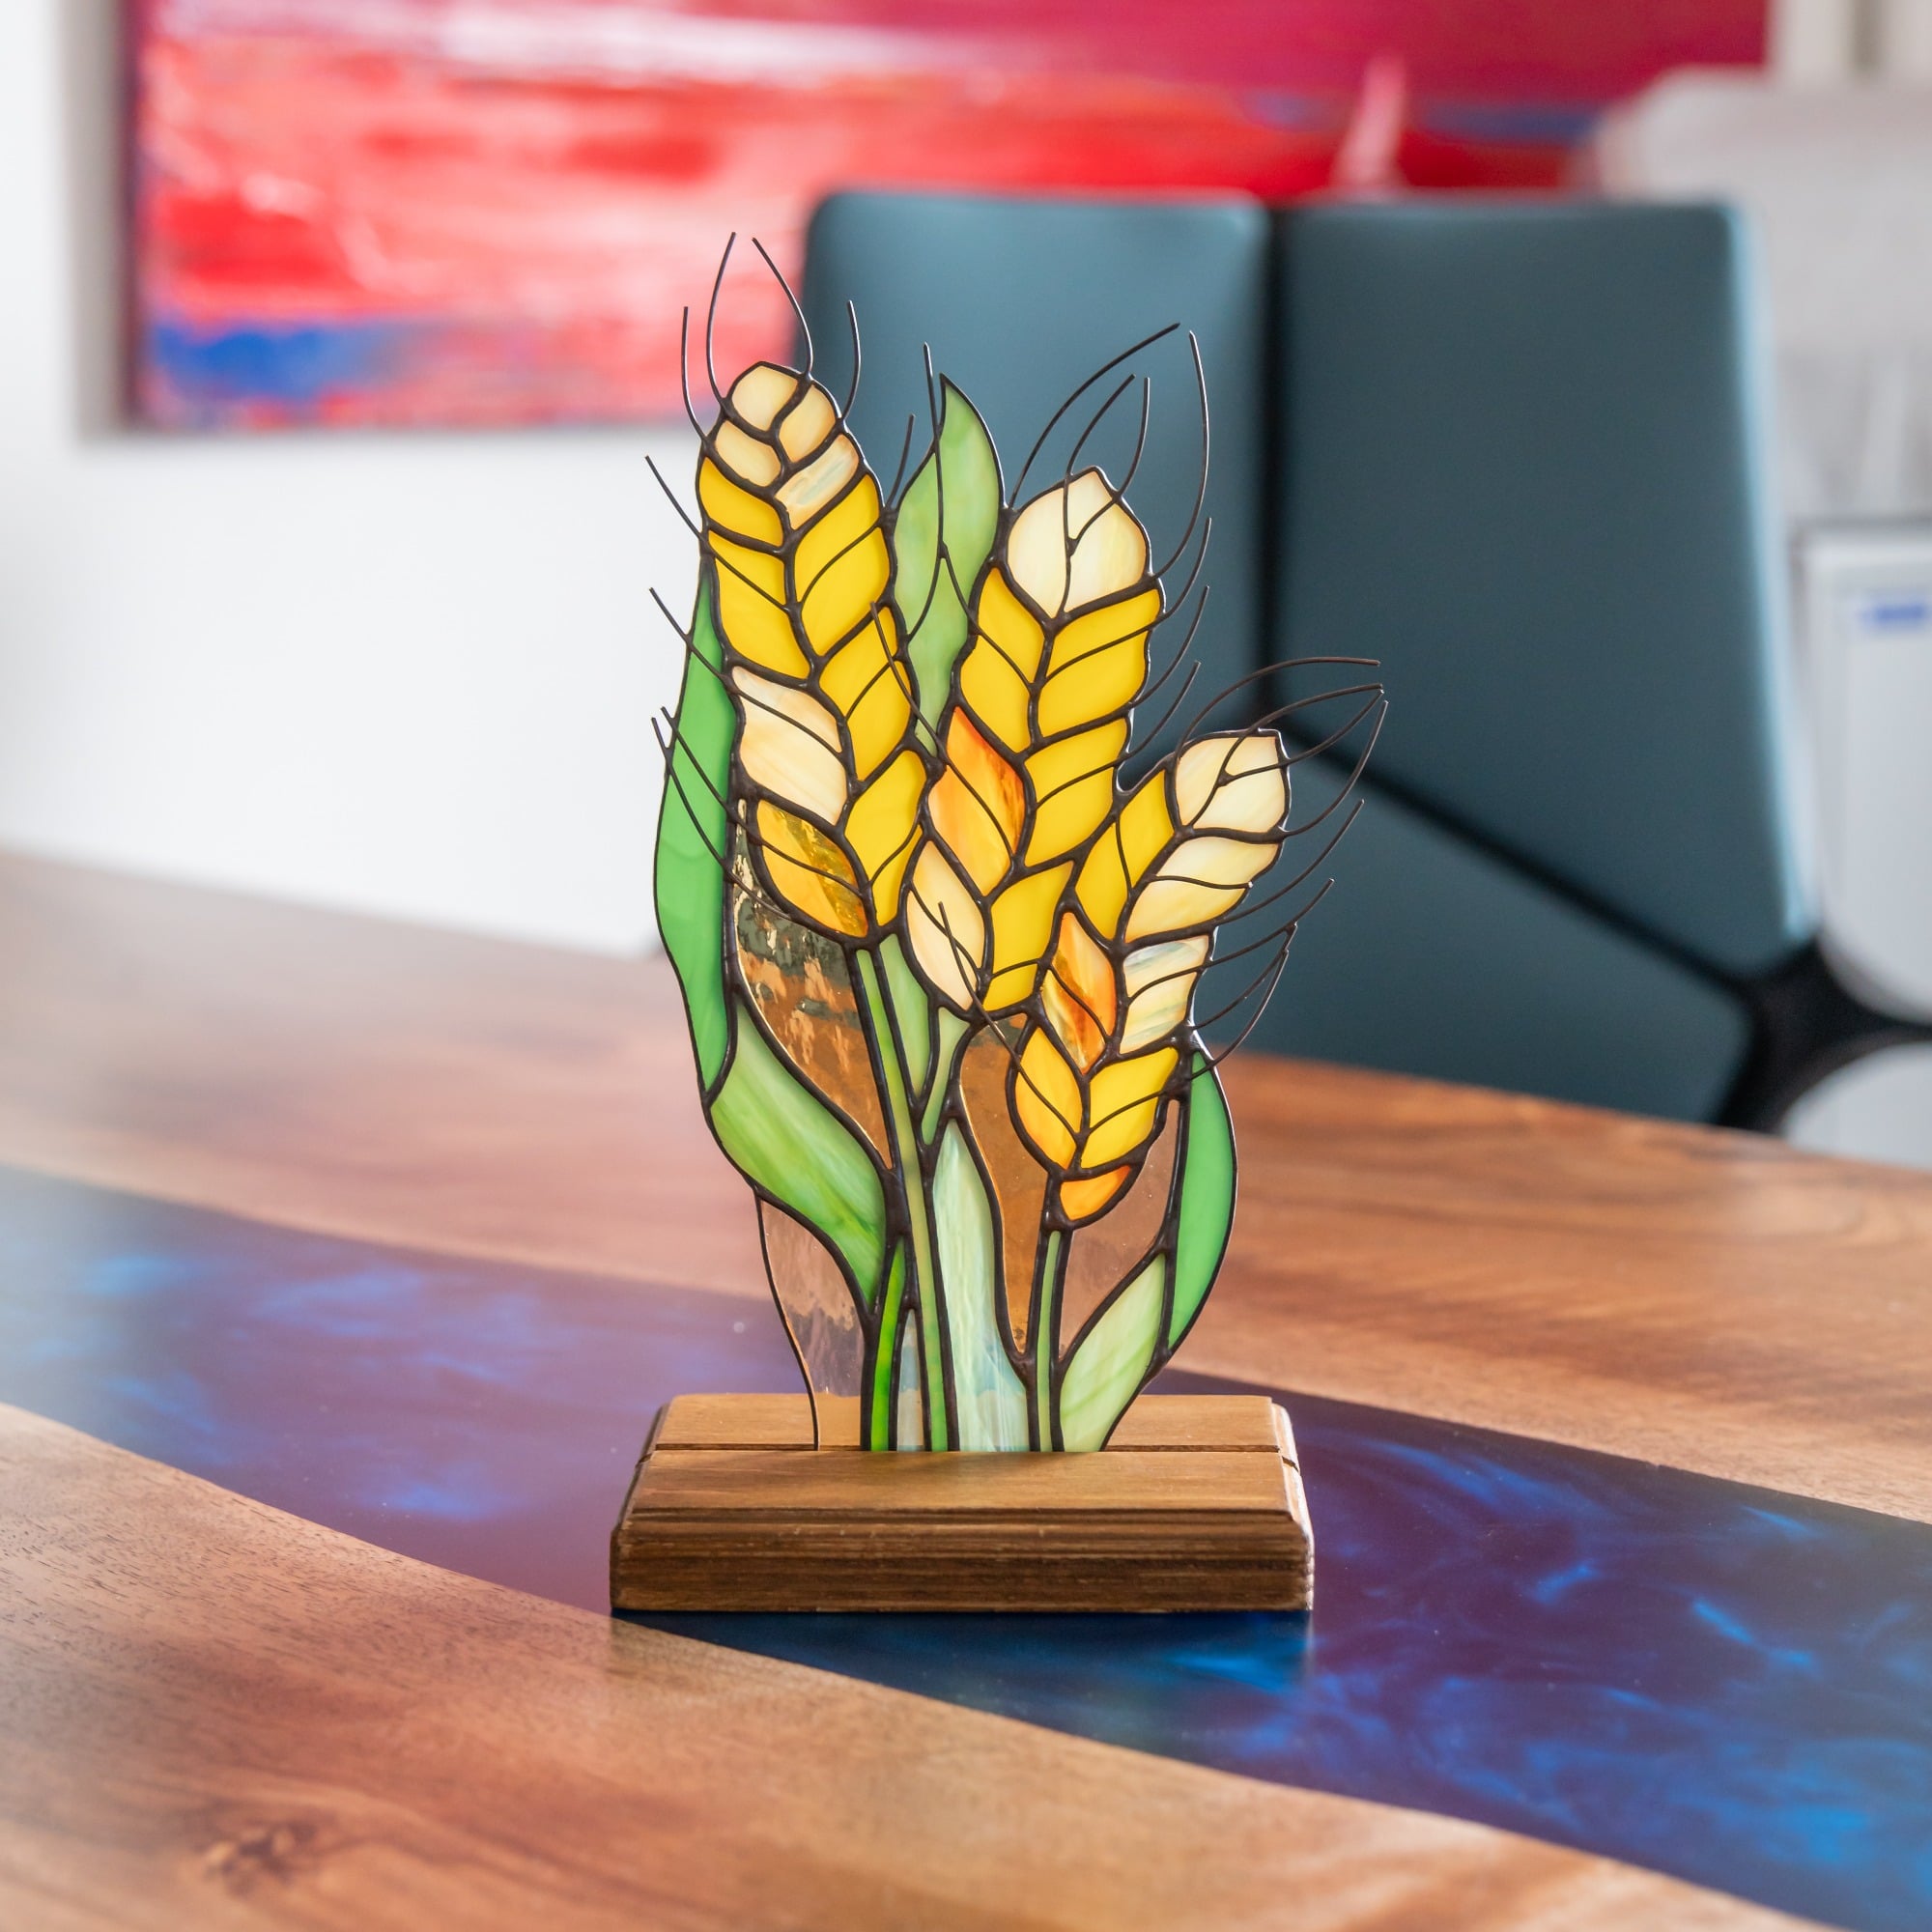
- Add context if it fits. Sometimes, telling a little story can infuse a special atmosphere into your photo. Include a bit of the surrounding space and admire the instant change in the snap.
- Balance and symmetry are important ‘ingredients.’ A lot of mosaics have balanced and symmetrical designs. Use that to make your shots look nice and balanced, too.
- Don’t forget about distractions. Things like busy backgrounds or unwanted reflections might take attention away from the object itself. Have a clean and simple setting so the medieval art shines brightly.
We hope these tips help you create something that’s more than just a photo of stained glass, but a metaphorical window onto an alternative reality, glowing with color and imagination. Visit our stained glass blog for more tips, stained glass supplies, stories, and more reasons to fall in love with illuminated art.


Leave a comment
This site is protected by hCaptcha and the hCaptcha Privacy Policy and Terms of Service apply.